Wednesday, November 9, 2011

Halloween pumpkins

For the younger kids, I did a Halloween project that got great results a few years back: Positive / negative pumpkins with orange and black paper.

The key is having the kids learn that they can just draw half the jack-o-lantern on one piece and cut it out and then reverse it onto the other paper.

Quite a concept for the Kinders!  But they had much more fun results than I imagined. Very cool stuff!

The Kindergarteners:


The 1st-4th graders


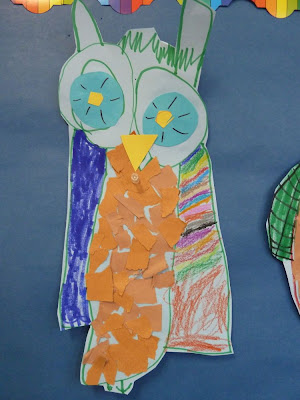
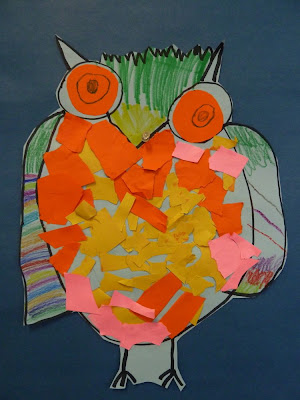
Kindergarten owls


In a repeat of a fun project from the past, we did Owls in the Kindergarten class. They were a hoot!

I do a directed drawing with the kids and then have them tear and cut paper to decorate their owls. It always amazes me how much personality comes out in these simple projects.


Sunflowers in glue and pastel

I've been doing quite a few multi-week projects the last month, so I have been remiss in posting. Sorry.

This project was done with all the kids in October, and took two sessions, so with my even/odd schedule it took a long time!


Since I've done Van Gogh sunflowers before, I wanted to do something different and involve more technique.  The first step was to take some sunflowers in and have the kids "draw" with white glue! This is easy since I am using black paper. Once the glue dries it forms "lines" that the CHALK pastel does not stick. So basically the second week was a "fill in" project. The ones that turned out best use a lot of color and get good coverage.


Thursday, September 29, 2011

Self portraits with paper

The luxury of having a new batch of kindergarteners who have not taken art from me before, is that I get to revisit "ye olde arte projects of the past." Having taught for three years now, I have quite a few that I would repeat and this is one of them!

Here is a link to the project from 2 years ago!

No matter how simple or complex, it is amazing how distinctive and representative some simple cut and torn pieces of construction paper can be. Even Kinders can make their self portrait portray themselves.


I have the kids pick background color and then some skin and hair color. They cut the face as a circle (or close) and then they can tear bits for hair. Add some eyes, nice mouth etc...

Monday, September 26, 2011

Primary Color lesson


In my efforts to give the older kids an expanded art vocabulary, I did an early lesson on color. Notably primary, secondary, complimentary, warm and cool. I put up a color wheel and asked them to name the 6 main colors and gave them an overview that complimentary colors are opposite each other.


For the actual project, I had gained inspiration from this art teacher blog.  I made a sheet of paper with radiating circles and photocopied it for the kids.  Then they traced their hand over this.


This was a brain teaser for many because there were several rules:
  • Warm colors (red, orange, yellow) for the hand
  • Cool colors (blue, purple, green) for the background
  • I wanted them to have a pattern to their color choice so that they did not repeat colors next to each other. This led to some confusion, but if they kept inside the lines it worked okay.
  • If a ring in the hand was orange, then the rest of the ring in the background needs to be the compliment: blue, etc.
This led to a certain amount of consternation and confusion, but after some minimal coaching it worked fine. I was really amazed at the level of sophistication that even the first and second graders showed! The results are truly cool!


Pet Art Supply peeve of the week

I was working with the kids on last week's project (to be posted shortly) and realized that many had Crayola Markers (including my own child) that were NOT the standard bold/bright colors. They are called "Bold". When I bought them, I just thought that meant the thickness of the line....
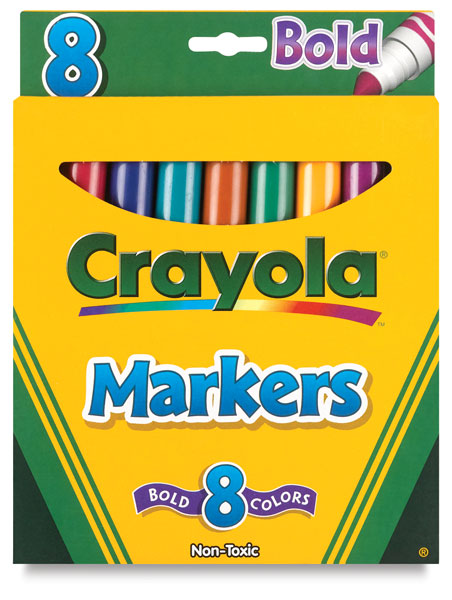
Set of 8 Bold Colors, Broad Tip
Weird colors

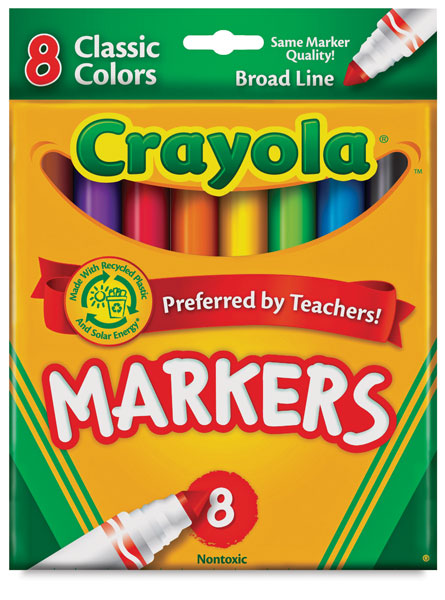
Set of 8 Traditional Colors, Broad Tip
Standard colors


The offending "Bold" 8-12 color marker set has some very nice colors, but they are mostly odd tints. I wanted standard primary and secondary colors but got either too bright or too dark.  I don't mind having fun colors, but nowhere on the package did it indicate that they were oddball colors.


Second peeve, is that Crayola seems to think it is being hip and cool by making all the marker's plastic barrels BLACK and only the removable cap the actual color!!  With young kids this is really bad since they often get the caps misplaced, and all the capless-markers look the same!! Ugh.
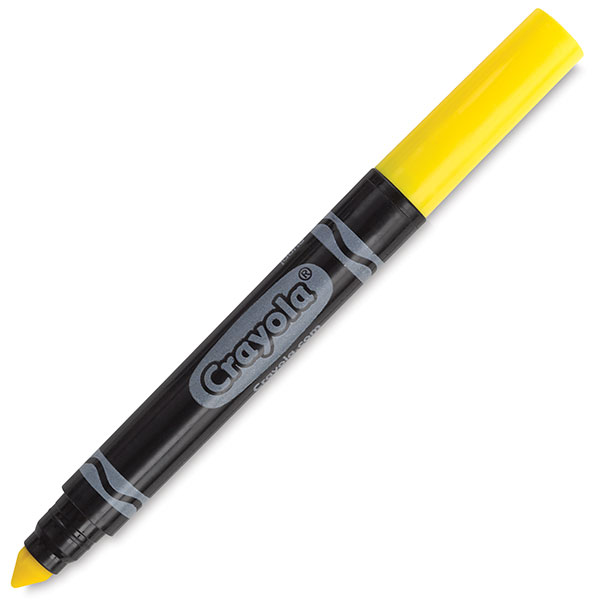
Broad Tip Marker

Please Crayola, for the love of us parents/teachers of young children, give us back the colored barrels and make the packaging easier to recognize what colors you are getting!

Thursday, September 15, 2011

Week 2: Leaf rubbing


Another Fall staple are leaves of course. In this project, I took a similar tact to my apple printing from last week. This time they were "printing" but using the leaves under the paper they really could explore texture and layering by rubbing with crayons. For 5-year-olds, I was impressed by their stamina and understanding of the concept.