Thursday, February 25, 2010

Week 21: Year of the Tiger drawings


As a nod to Chinese New Year and the Year of the Tiger 2010, I decided to do a directed drawing project. As for the actual Tiger subject and technique I was inspired by this artist blog and her really cute tiger:

http://www.artprojectsforkids.org/2008/07/rousseau-tiger-drawing.html

I have had luck with doing very targeted drawing exercises with the kids and this seemed like a good fit. Plus, I needed something simple to prepare since my home office where I plan and get projects figured out is in the final throws of being renovated and my files are being chased around the house.


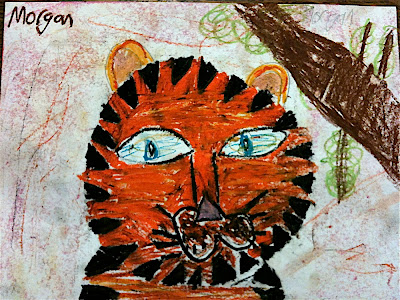
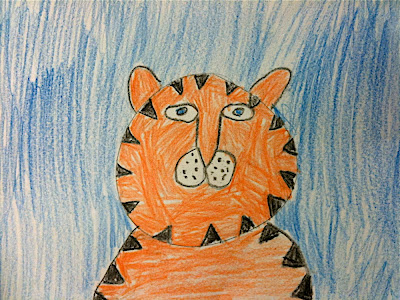
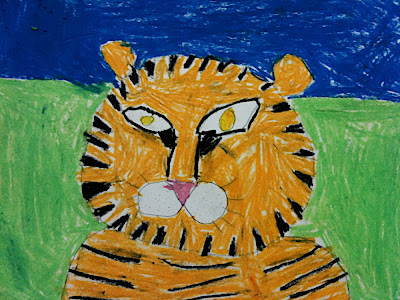
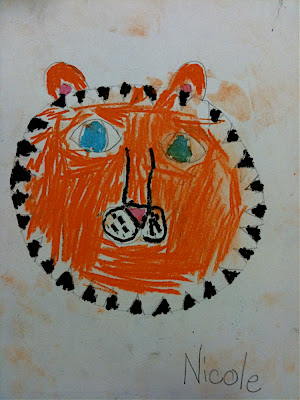
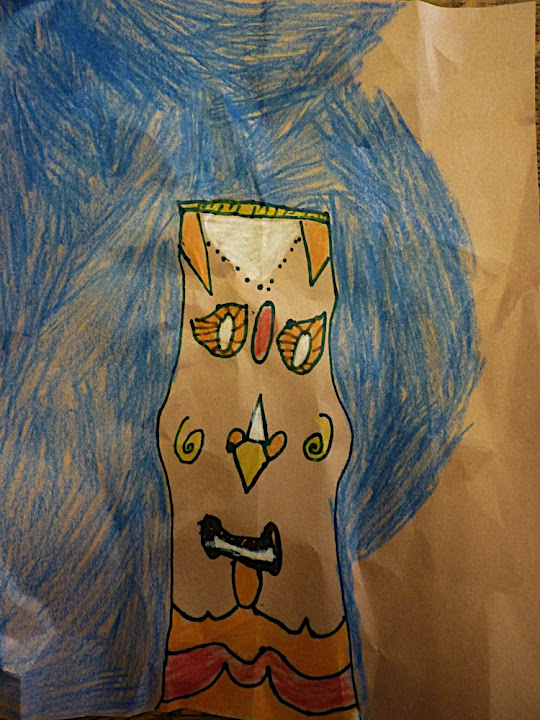
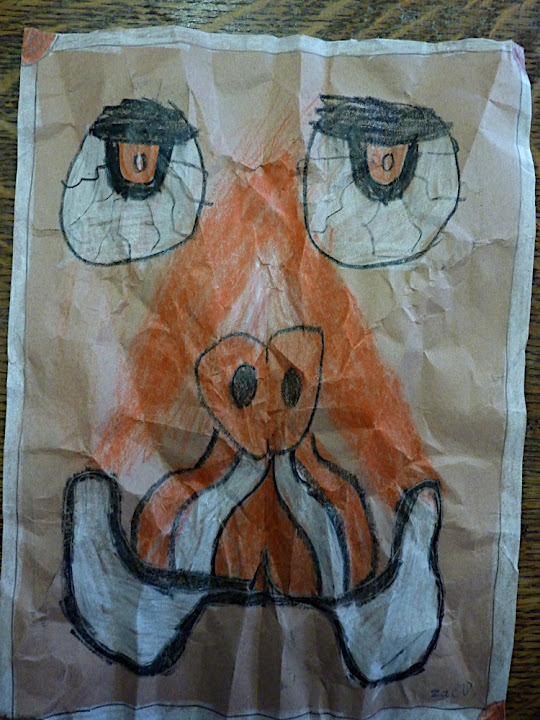
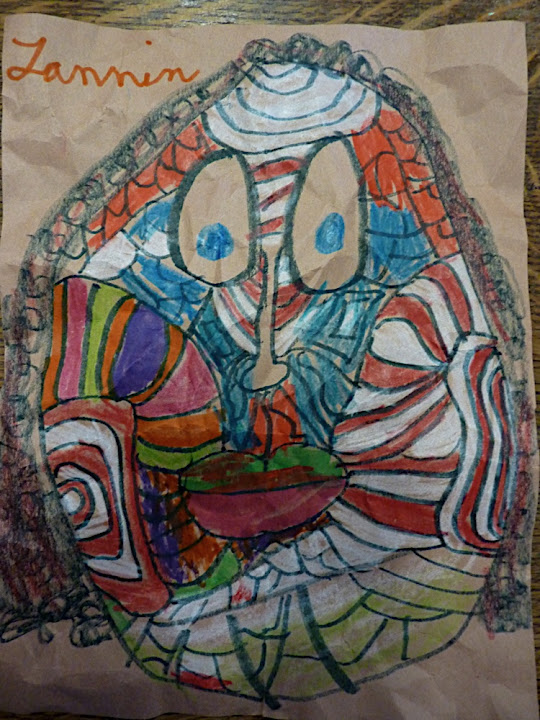
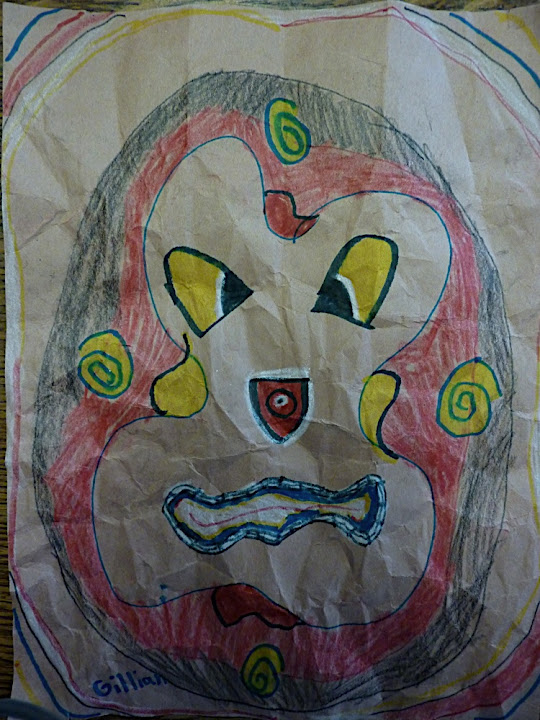
The materials are simple: paper, crayons and/or oil pastels and markers. I talked briefly about the 12-animal cycle of the Chinese New Year and showed them some real photos of tigers. Then I showed them on the board each step: 1. draw a circle 2. draw eyes 3. draw the nose 4. draw the cheeks etc.


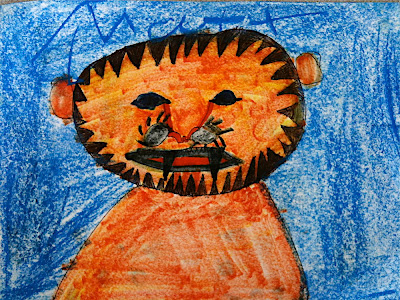
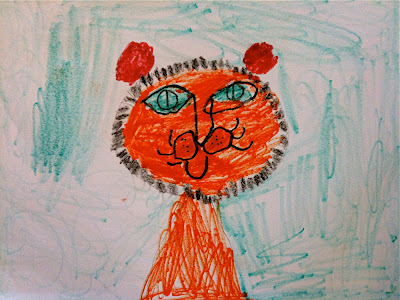
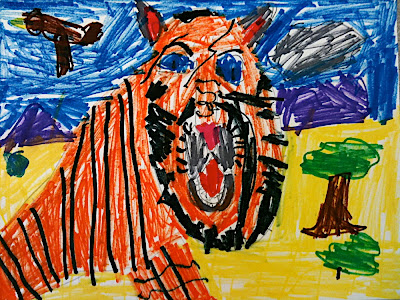
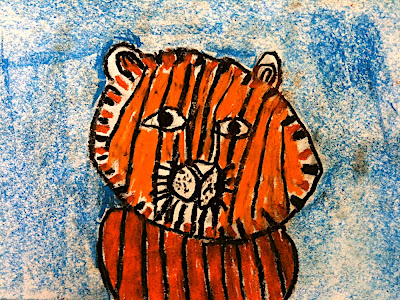
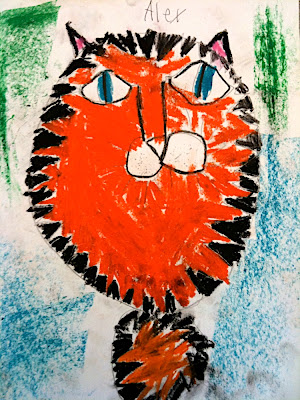
Most kids did a great job following directions and I encouraged them to fill the paper with color since many like to rush through things and get done. The best results came from careful drawing and making the lines dark enough so that after the color is applied the lines still show through.

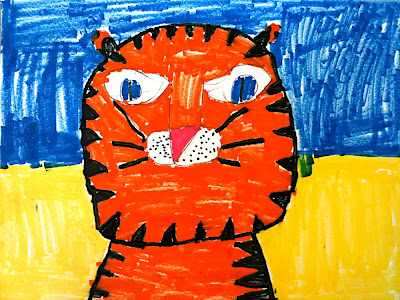
These Cool Cats will make a "purrfect" addition to our walls for our open house next month! I was born in the year of the Tiger, so this is especially close to my heart.

Wednesday, February 17, 2010

Week 20: Mardi Gras Masks


This project turned into a real crowd pleaser!  The kids liked it and I think their results turned out great.


I try to do seasonal/historical things as much as possible and this ties into Mardi Gras season,  as well as being related to the kids' study of "Island Nations." In this case it was a Caribbean theme, whereas the tiki masks I did the week before were more Polynesian.  I ended up using these Mardi Gras masks as centerpieces for the International Lunch the kids had as a culmination of their Island Nation studies.  The ironic thing is that this theme was picked before the horrific Haitian earthquake and ended up being a great tie-in to some fundraising for Haiti.

This project also fits into my increasingly common use of paper plates as artistic materials. This is at least the third use of plates this year. Maybe I should write a book!;-)  I ended up using plates mainly as an economical alternative to the really costly masks you can buy in craft stores or really tim- consuming plaster method that I would do with older kids.

The prep involved getting small lunch plates and cutting them in half.  Then I used a 1" circle punch for eyes and nose.  A chopstick hot-glued on as a handle completed the work I did before class.

I find that the kids really like the assemblage projects that involve hot glue guns and "stuff."  Since I use the glue gun, this does make for a more intensive class since they lineup have me put the hot glue on their masks.

I printed out several examples of the real masks and gave them a quick background on the signigance of Mardi Gras, Lent and Easter. This being a Christian school probably allows for more leeway in this respect.  I also showed them that the official colors are purple, yellow and green.

For materials I gave the kids colored feathers, sequins, ribbon, pop-poms and markers.  It is amazing how colorful and festive they ended up looking with just a few simple embelishments.  The kids spent so much time making these, that we needed almost two classes to complete.

Wednesday, February 10, 2010

WEEK 19: Tiki masks


Many of the kids had been to Hawaii so were familiar with the look.  I had them fold their paper in half to help with the symmetry, and tried to get them to use bold distorted shapes for the facial features.

The school has an International Lunch every year and this year's theme is "Island Nations" like the South Pacific, Japan, Australia, the Carribean, etc.  They like to decorate the room, and this project is catered to that.  I printed out a bunch of Tiki images and Maori masks as examples for the kids.

To give them a bit of character, I had them use brown paper and a simplified color scheme of black marker and one or two crayons.  Some kids used more colors but they turned out well. As final touch I had them delicately crumple and then re-flatten their work, so it looked like bark or rustic wood.